Monday, January 18, 2016

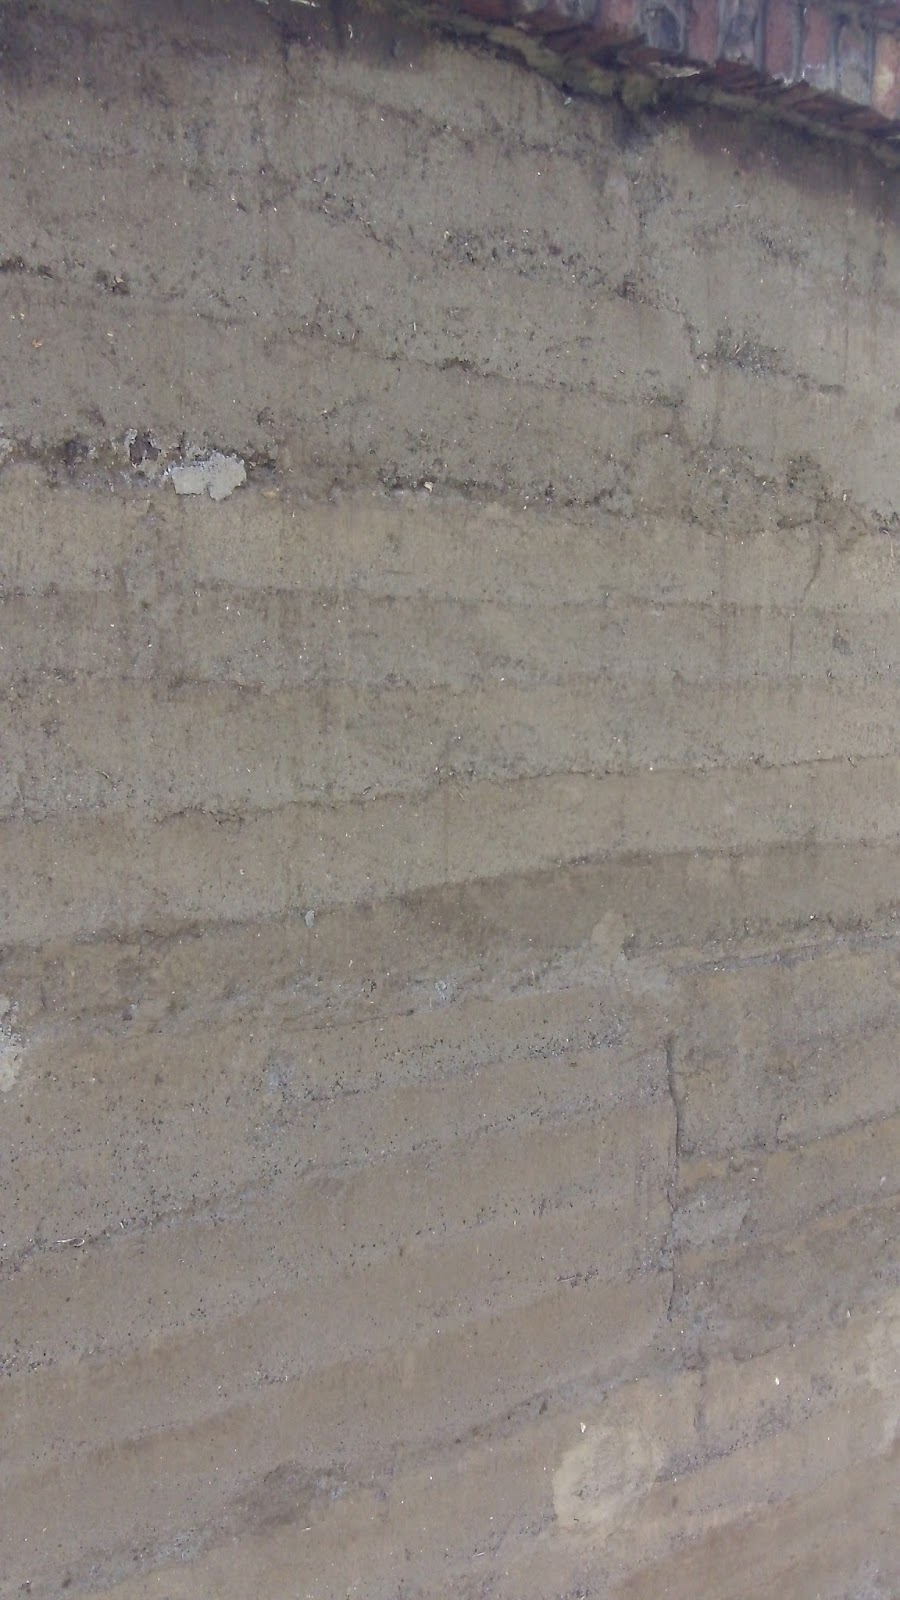
Some more rammed earth walls


Now i dig a 60x60 foundation ditch.  Do a rammed earth fill with 5% lime.  first 40cm lift of rammed earth has lime and the last 20cm has a pointed "cap"  It will be too much maintainence to keep that limewashed so i will put brick cap.

this section we also made the joints vertical and did not split the bonds.  I think this is a better method.

This is three coats on white parts the dark part is only one coat.


 this section was done after a period of rain and we were impatient for the earth to dry out before ramming.  Notice all the cracking due to shrinking becuase of excess water.

Monday, January 11, 2016

Improving single brick vaults


On the  two vaults currently in progress we had issues with the individual arches  separating .  Although this is always an issue, in a whole vault it might happen 1-2 times, but with these it was daily.

 Dickson was getting frustrated on both.  build an arch and then it pops out, or seperates several arches back.  Always on wet work.

Steel toed boots and helmets are your friend.

This was happening on these buildings:

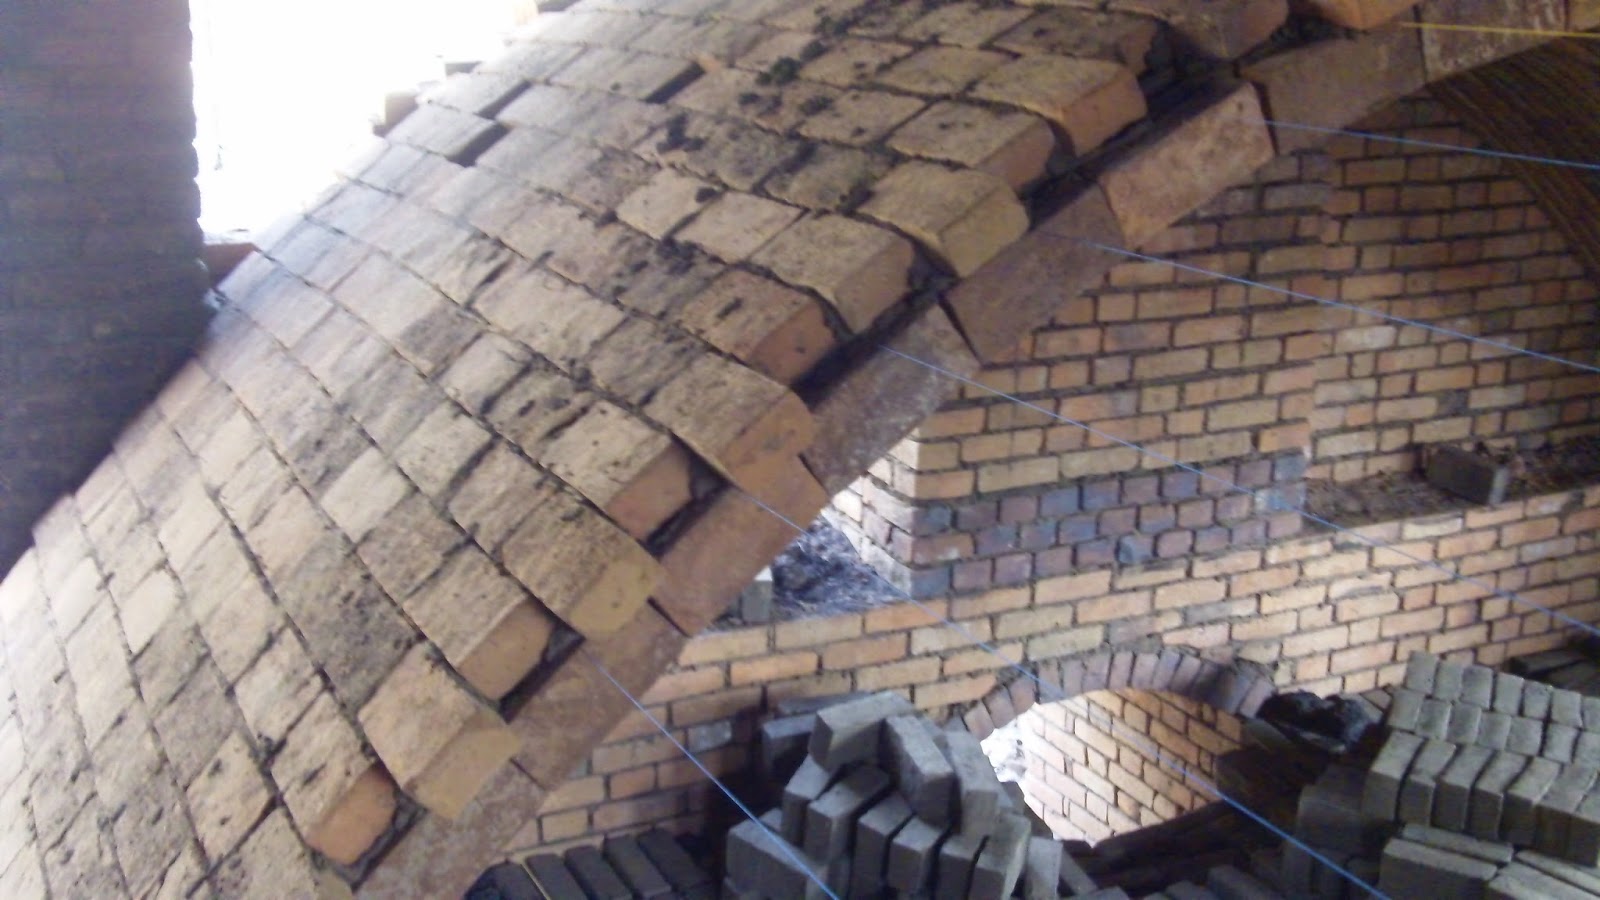
(1)  Kiln Roof,  5.3m (16ft) span .  a fairly high arch of 160cm rise


(2)   Garage/ grain store,  4.3 m span, as flat as we dare 10% rise in width ( or 45cm rise).  I would not go any flatter on a roof.  Both vaults  are built with " not so well burnt"  bricks.


In the first building we thought it was due to vibrations from heavy trucks passing on the road 10m away. 
 On the second building we thought first it was poor clay mortar, then vibrations on reinforcement rods, then flatness of the arch.

The solution that worked is a sudo (?) cohesion method.

Just like with cohesion or timbral method to add layer(s) to the vault. WE laid them face side down in a clay mortar and filled the extrados later


 The first vault we did after many arches, better to do as soon as you can add another brick


 Another layer laid as stretchers does several things.  
-Ties the first layer while constructing so we dont have an arch popping
-greatly increases the rigidity of the vault.
- increases the cost
-increases the building time slightly, although when arches are popping and we are redoing it could be faster.

Purely for looks I would build tile catalan vaults.  Tile on the ceiling looks better.  The first course is slow and expensive as you are using gypsum to glue each piece.

This method gets similar rigidity and strength.

I can really bang on the kiln vault.


So why didn't it happen on this big vault?


I suspect:
-steepness of the vault
-following each day with a cement plaster on top of the vault.
-slower adding a vault line ( as you have to do one at a time, one each side of the groin vault.


Tuesday, January 5, 2016

Making Clay


I am embaressed to say I dont know what my soil type is that I use to make clay bricks, rammed earth walls.

I have been playing around and seperating and have reached this far.


which means I have clay but not sure about 50%.  Is it silt or not so good clay.  In the picture above this is after seperattion and long soaking.  What is left is clumps that done disolve, however i can really work them and i get a similarly sticky clay.


  Work in progress.


Monday, January 4, 2016

Lime white wash of rammed earth walls

Learning lime white wash.  Does wonders to the rammed earth walls.  


 Thinking of this cap on the wall.


Tuesday, December 8, 2015

Rammed earth progress

Up to the lintel on first rammed earth building.  


After building maybe 200m(2) of garden walls we are working on this small garage.  some things learned:
-the mixture should be dry as possible.
-lime combines better with clay than cement
-it is possible to do soil-sand.  only do first line with lime
-form work should overlap more on bottom, makes easier to go up straight.
-cut pipe for putting bolt thought exactly width of desired form work and pound them out immediately.
-last layer put in lime again for water proofing.
-maybe there should not be staggered joints as it will crack through sometimes, at least he crack would follow the joint.
-keep checking vertical as you ram
-after removing form work it takes a day or two to become very hard.
-marine board means it will stick a bit, real wood is better, but leaves design.


Tuesday, October 20, 2015

Vaulted Roof for Kiln, with chimney

Roofing over the kiln has always been an issue.  Corrugated Iron only lasts 8 months due to the wood smoke.  cement tiles deteriorated after a few years.  Lumber with asphalt felt the felt deteriorates from sun.  For ten years i have the asphalt over the wood and replace.  that is expensive and am using old greenhouse plastic.

Now i have another problem.  ten years ago we used only wood for burning.  For reasons of cost, cutting trees, and variability we experimented ( costly)  and ended up putting charcoal dust on every layer.  It works very well and is cheap.  I still needed some firewood to get it going.  Then i found jatropha cake, the "waste" after extracting biofuel.  Someone make briquettes and we can throw them into the kiln tunnels, so we decreased firewood again.  We also used some jatropha briquettes in the lower layers to help the fire move up to t he charcoal dust.

It works good.  New problem.  Jatropha cake has a fair amount of oil left in it and the smoke is not bearable like wood and charcoal dust.  Can't work in the drying sheds above the kiln those two-three days when we burn.  Neighbor house is complaining.

Enter the idea to vault the kiln and add a chimney.  I have no idea how to size the chimney.  What i can find is complicated calculations.

Front and chimney side of kiln.  on left bottom you can see part of one of the six tunnels for lighting fire.


Doors on the sides for loading and unloading.  They are bricked up before firing.  upper door is for monitoring the progress and also loading / unloading.

above lower door is chimney.  WE will see

Tried new method of layout of the catenary arch.  Hung chain and then measured every 20cm and transferred the measurements to end walls.


One end got about 2m out and then heavy truck caused many vibrations from road and one arch opened up 3mm.  if it was closed would not be a problem.
Solution below is to put another layer immediately on top.


Second layer goes up fast.  again clay mud mortar


The end without chimney.  Will need to build stairs to upper door.

 Inside looking at the chimney flue .  It is temporarily bricked in

the arches.  it will become black soot some day.


I need to show the butresses.  there is a ring beam.  a bit worried about heat on the cement so am plastering the ring beam with a soil sawdust insulation.

Tuesday, September 22, 2015

Rammed Earth not that much cheaper

I finished the rammed earth garden wall on the backside of my house compound.  I need to put a cap on.

We learned some and are learning more.

1- if mixture is too moist it sticks to the forms when removing.  it is barely wet.

2- the ramming is not with much force by about 4 passes.

3- the wall are hard

So we started on the walls for a garage/ grain store.  I am using two neighbor teenagers who have no training.  I pay 10,000 shs per formwork which is about 1m2 of wall.  40cm thick

I had a visitor architect and we went through the pricing and it only decreases cost of wall about 30% when both cement block and rammed earth are unfinished.  I thought it would be more than that.

I could decrease the width of the wall to 30 cm and maybe save 25%