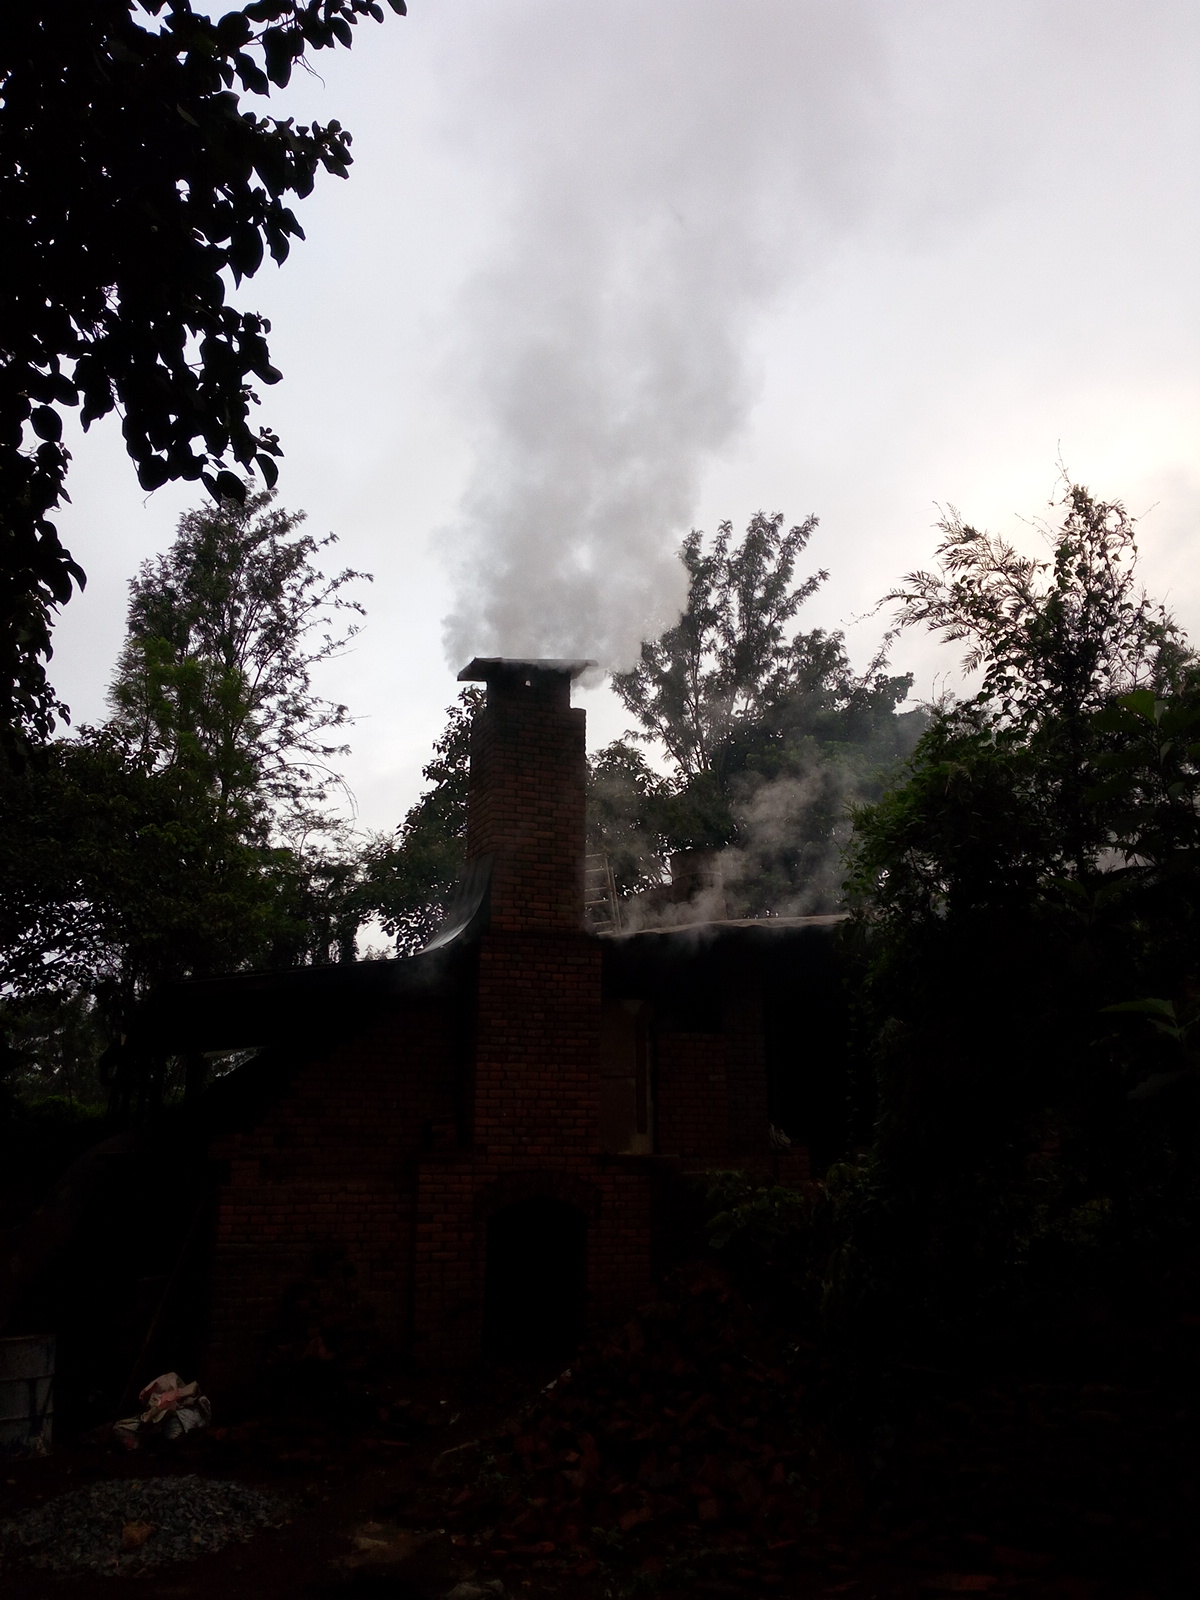
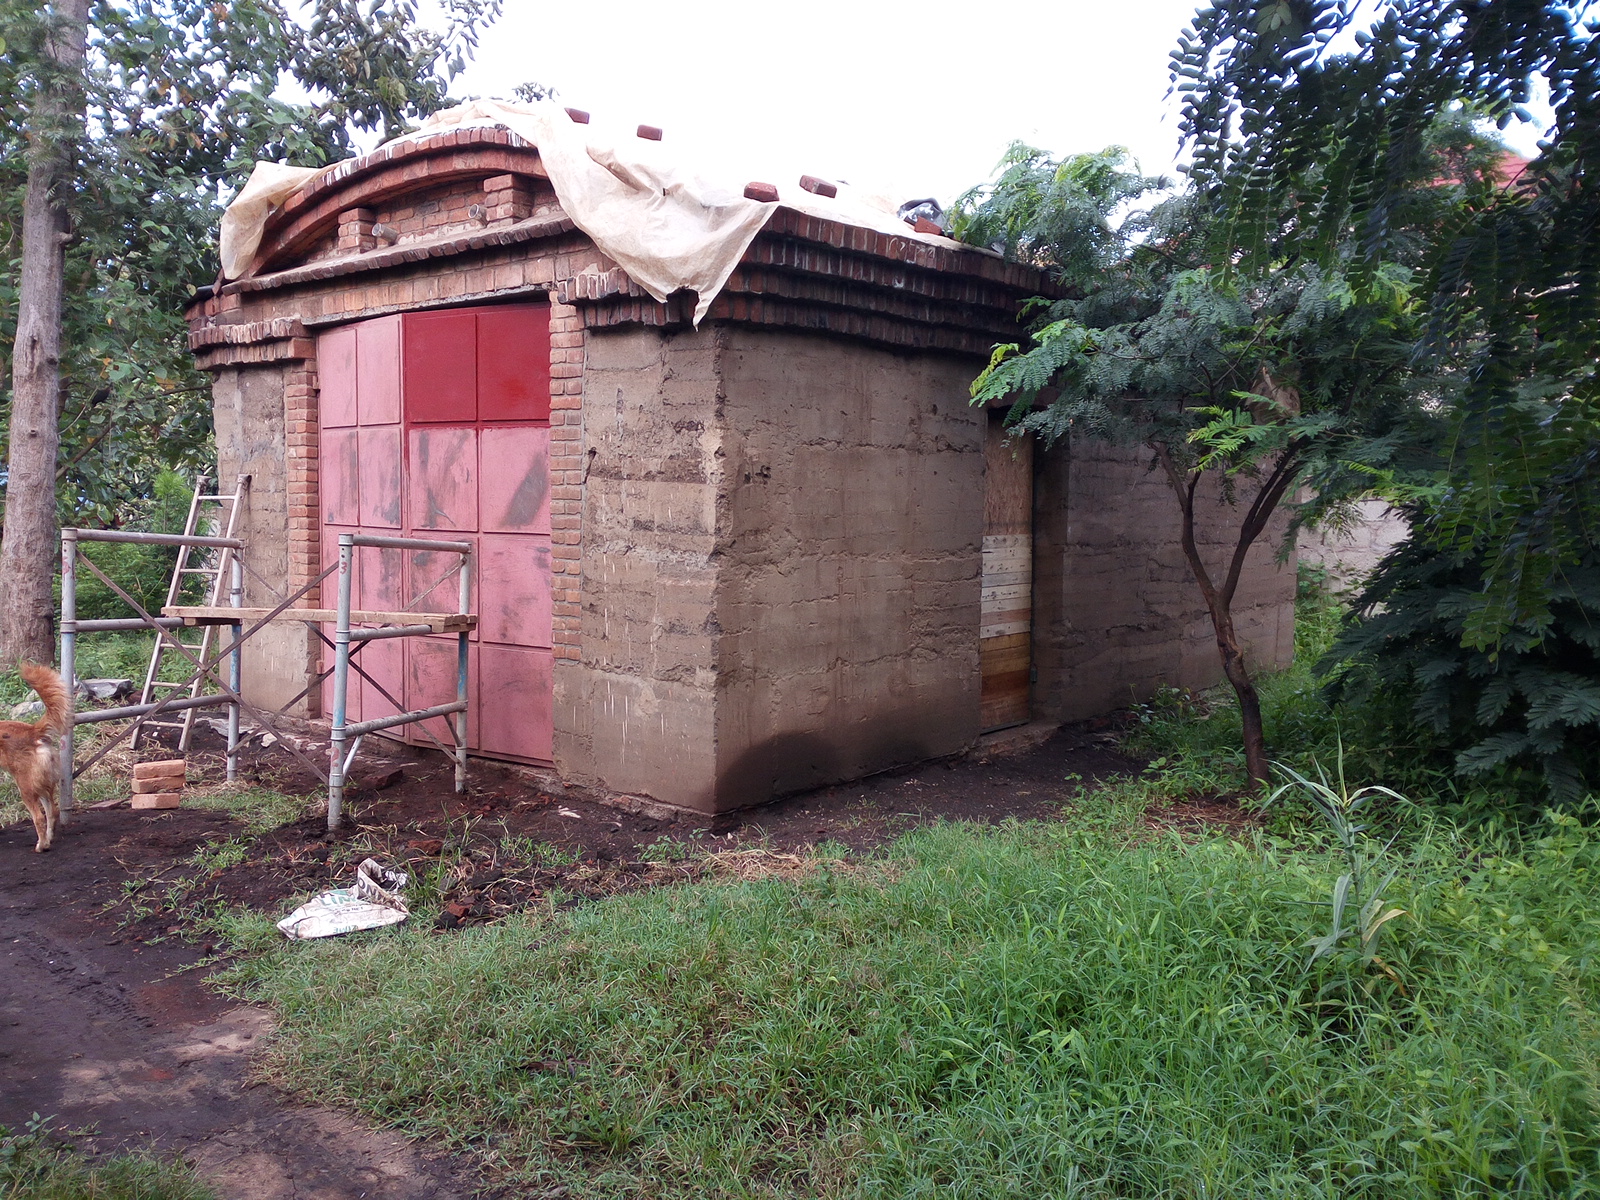
We are almost done with this building s for storing maize cereal after harvest until the price is right. Later it could be a car garage and outside storeage and maybe where chicks are kept.
The process.
Foundation was all stone. Dry laid except last 30 cm, then a lime sand mortar. On top of the stone was a 20 cm reinforced concrete beam, which might be overkill.
I overlapped the rammed sections. Since then I have learned to
not overlap and go straight up with no bond. It is going to crack anyway 1/2 the time.
Note the
brick column around the garage door. This made it easier I thought rather than cutting a board each time . Also this way the ears of the door are set in the bricks instead of rammed earth.
The
electrical boxes posed a problem as the ramming causes them to deform. So you ram soil in the boxes before installing them.
The plastic water pipe for
conduit does deform , because it is round? my friend Roland says to take them all up instead.
These came out nice . although there is a slight issue you see in the middle. Need the guys to be more aware of how it will bond on the edge, sweep the top of the previous one, wet it, make sure the cornors are packed good.
On the back wall is a small window where we used boards as end pieces for around the window. Then a brace to keep it in place. Had some issues with poor quality here.
Note the
damp proof course and the notched end pieces. The bricks below was formwork for the beam.
I used neighborhood boys who are unskilled and untrained. They made a few mistakes but are catching on. The need to check and
recheck plumb.
Where do i get the soil? From the trenches of the foundations and from an area I want to build another house with basement. I learned to keep it covered so to control moisture in the mix. It is
best drier as opposed to wetter.
Reaching lintel height and I start
cantilevering bricks to make eaves and
form work for a ring beam for the vault to spring off of. This was done by skilled mason.
Reclaimed door frame, with arch over it.
You can see the brick work for ring beam.
The wall came out reasonably well.
Inside showing the wall, arches and the ringbeam brick formwork
At the door way i put in
wedges so the corners don't break. I should of done at corners also.
Vault time.
Note:
-
tie rods as the room is 8 meters long. Don't weld bolts on the end of rebar, but rather have them threaded.
-strings to keep shape.
always pleasant to look at masonry ceilings, or?
Real scaffolding
Timbrel? Not really. As this is a very flat arched vault the individual vaults can "pop". The layer above serves to stop the popping. It also makes the roof more rigid and stronger, however increases the weight and hence thrust on the walls. Okay it is timbrel.
On top of the second layer a clay sand plaster to make it smooth to put a plastic vapor barrier.
On the short ends we needed a overhang of the walls, and we tried to cantilever the vaults but it didn't work. kept popping off. this wall will get some driving rain but the rammed earth should be able to withstand and dry off between rains.
Some aluminum tubes lined with tinfoil for extra light.
Soome trials with aluminum tubes with bottles on the outside in the roof. this is with flash and there was dust or insects flying around.
Same picture withoug flash.
the bottle light in the roof during day time.
the reclaimed metal door need some reclaimed wood. Old Pallets and particle board from crates.
What i need to avoid. there is some splashing on the ground from the eaves here splashing back on the wall. dissappears in the day from a night rain.
On the long walls the eaves overhang about 22 cm. I dont see a problem. The above problem will be remedied by some gravel.
What remains is the rammed earth floor and the roof. Both are challenges.
Floor.
We dug out all the top soil about 50cm. then i filled with what we call mouram. It is volcanic gravel, very corse. this is vapor barrier. It will not wick water. then a layer of broken bricks for a flat platform for rammed earth. So it doesnt dissappear into the gravel. This is the first try with rammed earth floor and this is the first layer. 10cm of clay/sand and 8% lime.
You should let the first course dry before the smooth slurry but i wanted to try a test ares. this is 1:1 clay soil and sand. it takes forever to dry.
Here i tried smoothing the rammed earth, it is possible to get smooth.
The roof i was originally was thinking living sod roof. I am worried about the weight and roots going through weak plastic. Then i did a test of rammed earth painted with lime wash. I realise that will not work as it gets wet and dries repeatedly. I think clay is out. Then i thought of just covering the plastic on the roof with mouram light gravel. Simply to protect the plastic from sun. I might try that. I also might try some sod along the bottom.
As i am playing with clay, next building i might have roofing tiles.