Wednesday, April 2, 2014

New Product: Thin facing bricks

For years we have been asked for facing bricks. Well we are now making them.

Here is to compare with our standard 24 x 11.5 x 7 cm brick. Facing bricks are 24x7x2cm.  So
So they look the same after installing.  The 3 rows at the top in the picture below are thin bricks.  The are covering an exposed beam.
This is what one guys stamps out in a day.  Each mould makes four bricks.

Monday, March 31, 2014

Just a garden wall, with corbel at top.

As I have a clay brick factory I often have "reject" bricks , like these under burnt/salmon/soft bricks in the wall below and over burnt and misshapen bricks in 2nd picture.

Here is a project using both. I am about to rent the groined house, and an employee of the United Nations was interested but their security ruled it out as the thorn hedge had no chain link in it. So i decided to try a 2m garden wall with a masonry cap. We had a brick kiln go bad so we had many salmon bricks and made this wall. footings then stones to get me above ground , then clay mortar up 170cm.  columns every 3 meters.

What do you do with this junk below? You bang and chop on it and get a reasonably shaped clinker. I want over burnt for the overhang for strength and water proofing.
These clinkers are laid at about 45degrees in rowlock bond.  We had to do the angle otherwise the overhang would be 1/2 instead of 1/3.
Dickson putting on second corbel this time straight rowlock.
finished wall with half way putting on thin brick "tiles".  Very little rain is getting on this wall.
looking from another angle.  The pointing makes a big difference in the appearance from the first picture.
I have always been negative about perimeter walls.  They feel like prison walls.  With this wall i changed my mind.  This takes so much less space than thorn bush hedges, and there is no upkeep.  Bernice is now wanting places to hang flowers.

Sunday, March 2, 2014

Floor finished

It has taken awhile to sand the floor smooth.  Or to the point it is "good enough".

I put three coats of two pack Polyurethane gloss.  Here is more pictures than you need.

These first four pictures are after the first weak coat of polyurethane.


I put the same on the brick steps. With both I don't really like the gloss as opposed to matt, but i can only get floor polyurethane in gloss.


And the rest after the third coat.  I wish I could take when there is no glare.


I did a fair job of few gaps
close up to attest to the few gaps.


Wednesday, December 4, 2013

Second try at dry stack retaining wall

Sean and Matt hope you will comment.

Dig some stones out of a hole. This hole will be used to make an underground dome water tank. Some parts of my land has this rock a meter down.

Then you get a pile of rock. These are not the greatest, too roundish, but what i have. Costs me about $6 per m2

Elia is a mason we brought in to speed things up. He did this wall. he gets better as we go left.

As requested some side shots.


For the cap I expect some dirt and grass will hold the back few pieces in place.  Along the edge are big flat pieces.


From the other end of the wall where it is shorter.
And the last part being built,  the stones left are smaller.  Lots of ruble put behind.
A
 Some detail of the top pieces.

How I make the wood floor

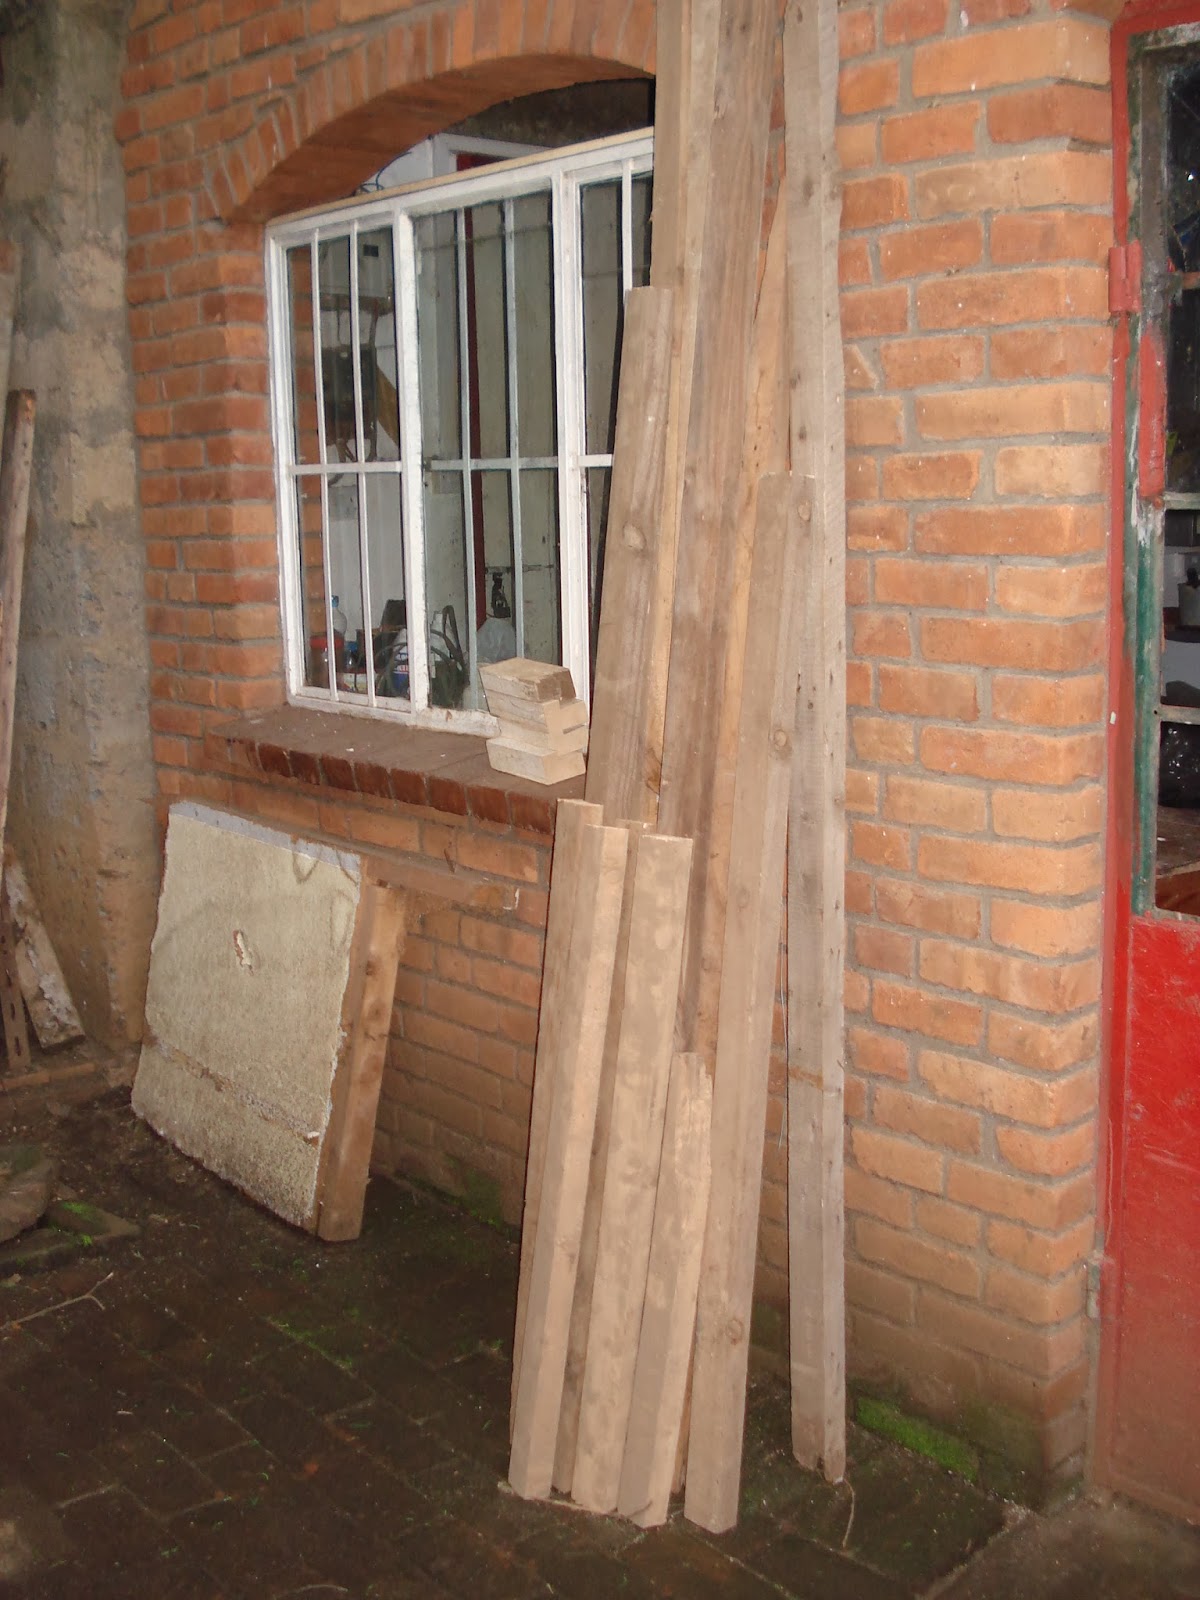
Cut a tree down, preferably a sustainable harvest.

 I had some grevilia robusta trees, a semi hardwood about 40 years old.  I took a few out.

 Hire someone to cut the logs into lumber. Next time I will use the guys who do it by manual 2 meter saw. This time it was chain saw. too much loss, too uneven
Movie cutting logs by pit method. Very cool
run the boards throw a shaper to plane to uniform thickness
then they look something like this
Then rip with this table saw


Then I cut the strips into 50cm lengths

Sunday, December 1, 2013

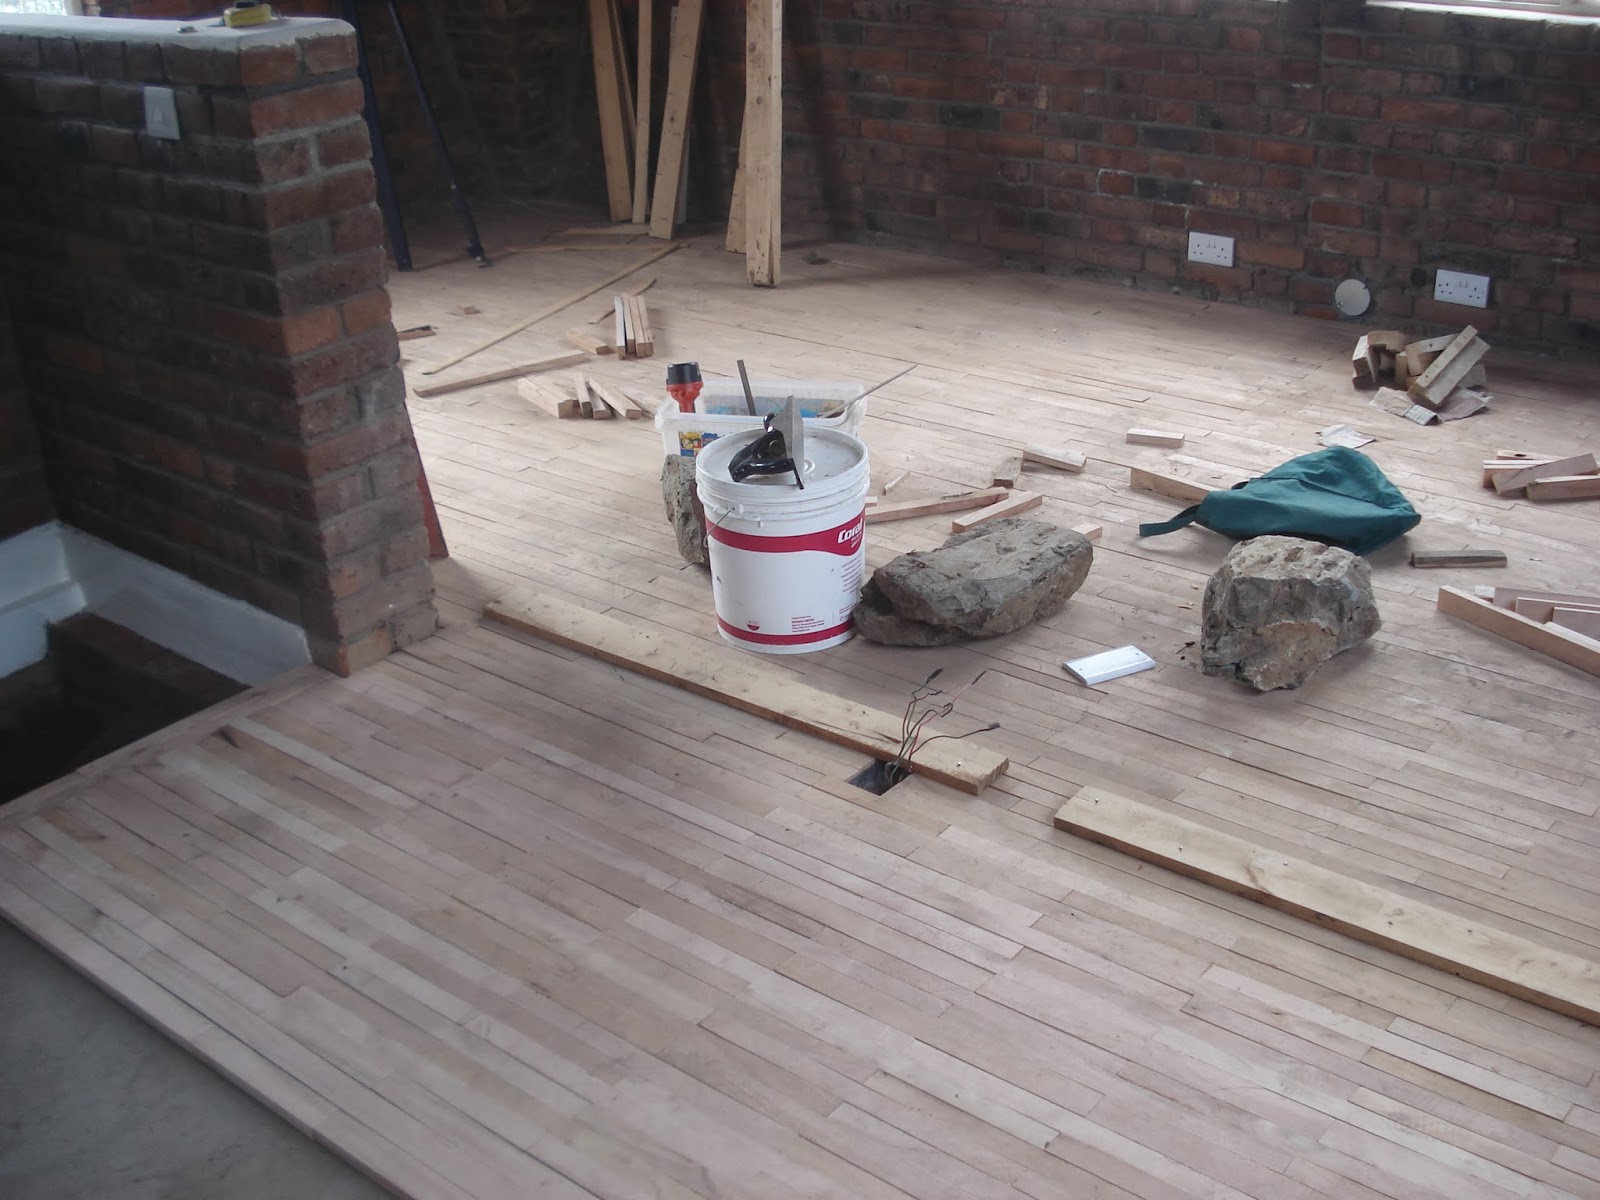
Floor almost there

First mistake was cutting the trees into planks with chain saw. I thought it was pretty even but now realize they are not very uniform and I lost too much in the cut. I thought I would get 50m2 of 2cm thick flooring. I got about 31m2. Some the wood was not mature and there is alot of waste and maybe i calculated wrong, or some dissappeared. I have 3m2 left after i glue the last pieces. I have some odd pieces to match up. After cutting i have 50cm strips 2cm thick 4-4.5 wide