Now i have another problem. ten years ago we used only wood for burning. For reasons of cost, cutting trees, and variability we experimented ( costly) and ended up putting charcoal dust on every layer. It works very well and is cheap. I still needed some firewood to get it going. Then i found jatropha cake, the "waste" after extracting biofuel. Someone make briquettes and we can throw them into the kiln tunnels, so we decreased firewood again. We also used some jatropha briquettes in the lower layers to help the fire move up to t he charcoal dust.
It works good. New problem. Jatropha cake has a fair amount of oil left in it and the smoke is not bearable like wood and charcoal dust. Can't work in the drying sheds above the kiln those two-three days when we burn. Neighbor house is complaining.
Enter the idea to vault the kiln and add a chimney. I have no idea how to size the chimney. What i can find is complicated calculations.
Front and chimney side of kiln. on left bottom you can see part of one of the six tunnels for lighting fire.

Doors on the sides for loading and unloading. They are bricked up before firing. upper door is for monitoring the progress and also loading / unloading.
above lower door is chimney. WE will see

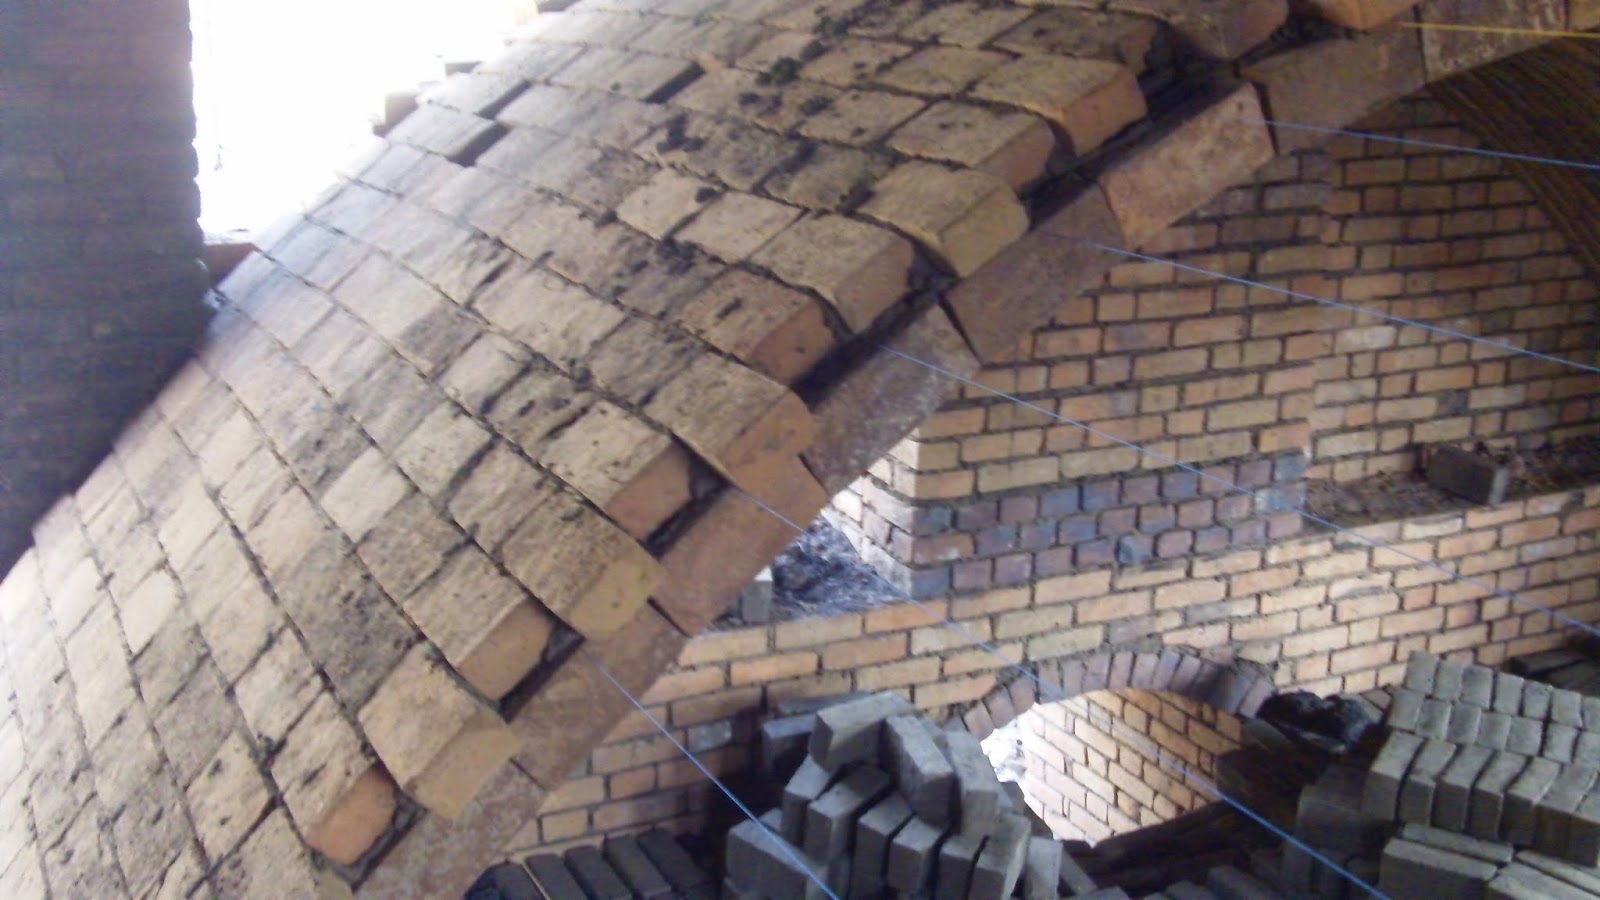
Tried new method of layout of the catenary arch. Hung chain and then measured every 20cm and transferred the measurements to end walls.

One end got about 2m out and then heavy truck caused many vibrations from road and one arch opened up 3mm. if it was closed would not be a problem.
Solution below is to put another layer immediately on top.


Second layer goes up fast. again clay mud mortar
The end without chimney. Will need to build stairs to upper door.


the arches. it will become black soot some day.


I thought you no longer had a part in the brick factory.
ReplyDeleteWe stil own it, it is just a seperate company from the Internet company. Unfortunately we will close the factory as we haven't sold enought in the past 3 months . I guess the economy and elections means people are not building as much. Sad as many have worked there 20 years.
DeleteThat is sad to hear. If you have interest, you might look into making Guastavino tile replicas and try to sell to the niche market.
DeleteGood news we reopened the factory after a few months and it is doing okay. and we make a facing brick now.
DeleteVery nice blog. I like that you live in Africa coming from the USA, that is a rare case ! I live in Brazil. I am also interested in constructions since the past couple of years since I started building my house. Mostly with mud by filling earth bags with it. I am also interested in Mexican vaults, I started building them and it looks very promising. I just started my blog to document my experiences but I have written just 2 post (most of my time I just work and do not prioritise writing so much): www.kuchita.com Congratulations, your work impressed me ! bye !
ReplyDeletethanks Jose' . I think we can compare notes. I also am moving away from cement. Instead of earth bag I am learing rammed earth.
DeleteNice wall you made in your garden I like the embedded stones ! I made some kind of rammed earth wall covered outside by small unfired bricks by. Quite siumple and fast, 1) first gradually make two parallel think brick walls up to 30 cm high and 2) filling in between with mud. 3) Repeat the process until the wall is as highas you like. Like that I did not have to use wood to hold it while it was being built. It looks as if it was a huge brick wall from outside, quite impressive.
Deleteyou used a very wet mud? does yur ourside wall have a cap? what happens in rain. for me rammed earth with resist rain. mud mortart gets washed away if exposed to rain.
DeleteI do agree with all of the ideas you have presented in your post. They are very convincing and will certainly work. Still, the posts are very short for beginners. Could you please extend them a little from next time? Thanks for the post. Alex Shcolyar
ReplyDelete