Showing posts sorted by relevance for query catalan. Sort by date Show all posts

Sunday, September 21, 2014

Catalan vaulted roof/ceiling

This was a project done last year and  I thought I had made a post about it, but looks like I did not.

After several small span  Catalan  roofs  we decided to roof this room using our new skills.  This method is referred to by many names:  Catalan, timbrel, cohesive tile.  I will use Catalan.

(Note the modern scaffolding!)

First we built end walls to draw the catenary shape  templates, run strings to control the shape, and "glue" the tiles.
  I bought handmade  floor tiles for the first course for aesthetic reasons.


 Butter two sides of a tile with gypsum plaster.
Tap into place and hold 1-10 seconds.


And then move on to the next one.  It is a bit tricky as the first one has to be "set" so better to build in two places or use gypsum that is almost set.
  A video is found here


Building on each side .


Conduit pipe for ceiling light.


From above 3/4 done with first course of tiles.  Sometimes extra gypsum plaster applied to help hold until an arch is completed.  gypsum gives no strength to the vault, it is just to hold until an arch is finished.

About to close the first layer.  We were excited about how good it looks.


 After finishing the first course.   We had disagreement on whether to do the other 2 laminate layers as we went along or finish one course at a time. 


It did bring and issue .

Before I talk about the hole.  This shows the 2nd and third courses with different bonds, first at 45* then at right angle to original bond.  After 24 hours you can stand on the 3 layers.  Mortar is cement - lime - sand  1-1-6.

Mason Dickson preferred to finish first course then sit on the end wall and lay 50cm of other courses, next day sit on the first 50 cm and lay another 50cm.  Worked okay until someone put something heavy on current days work and it collapsed!


As it dried out efflorescence occurred on the beautiful tiles but i figured it would dry and fall off like our bricks.  It is a year and still ugly like this.  I just tried washing it off and that looks like it will work.
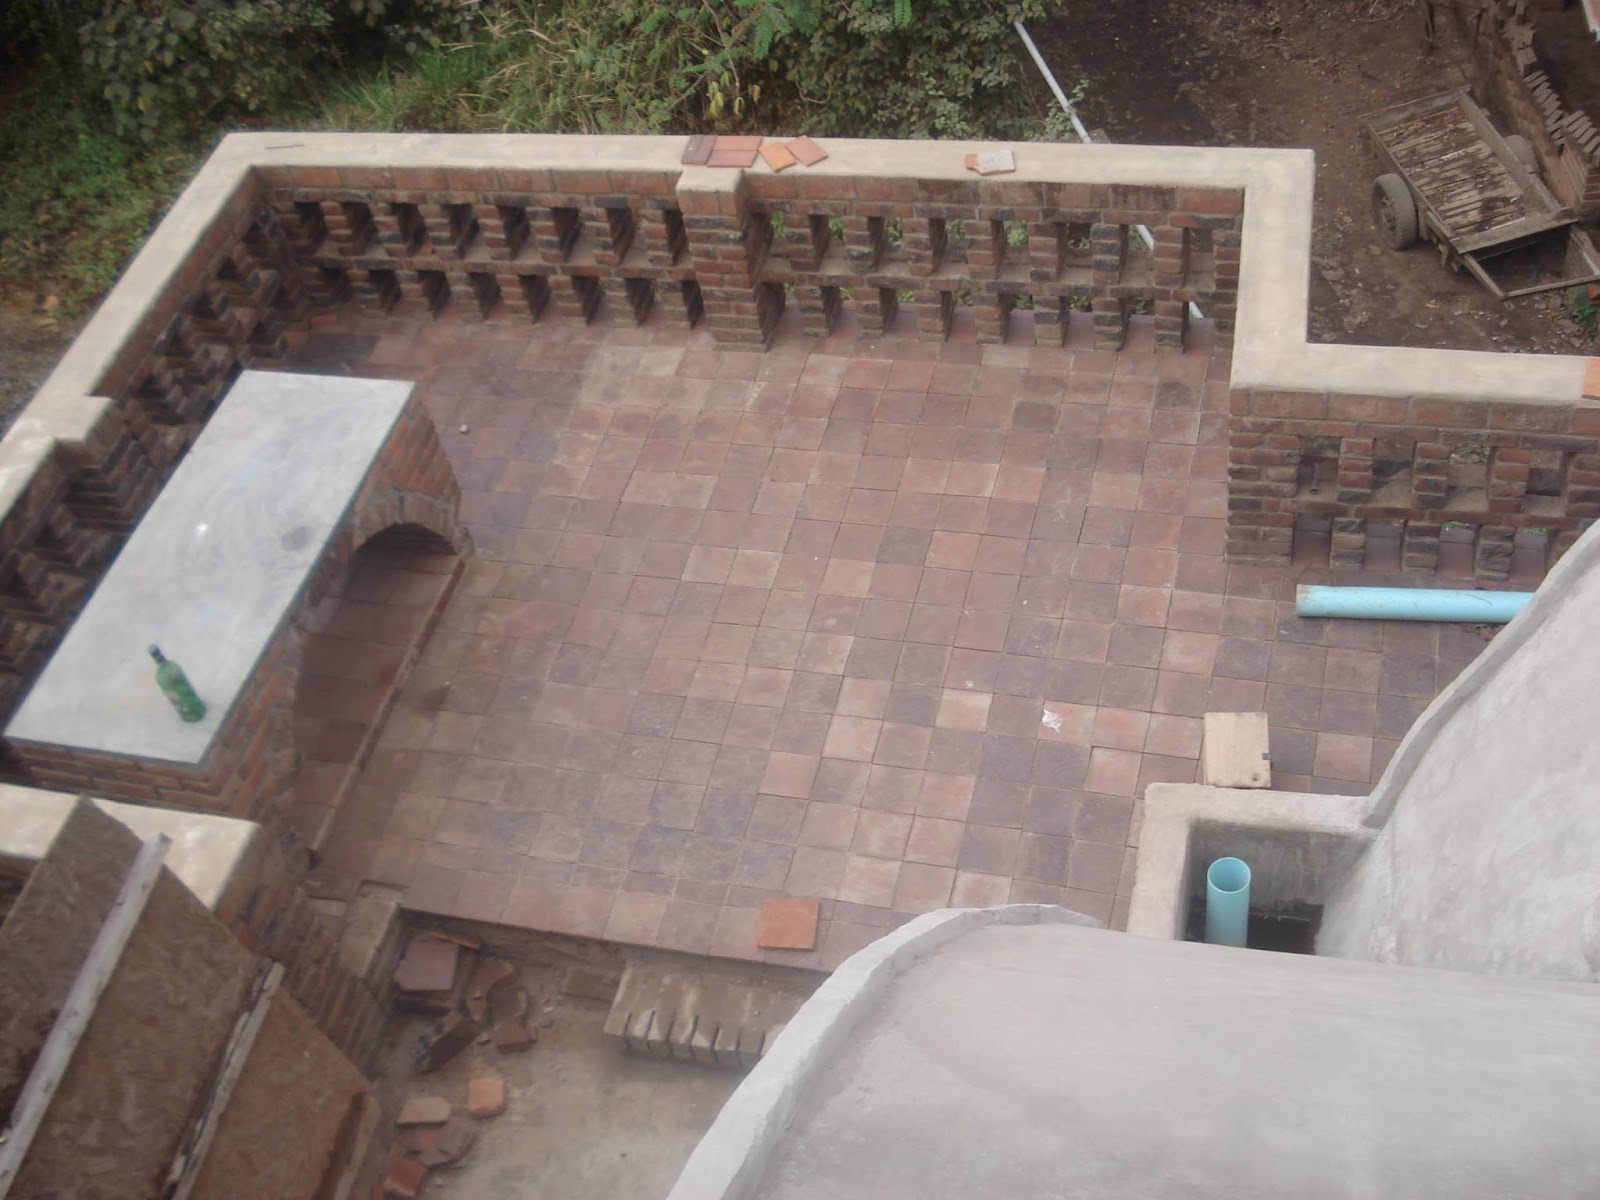
we filled in level and then put heavy plastic and then 5cm concrete sloped into a drain pipe.

On a small Catalan vault we roofed with tiles to see how well that would waterproof the roof.


Saturday, November 17, 2012

Catalan vaulting in Cuba


This is one of the most remarkable examples of catalan vaulting.

Imagine it was never used.

Another 

Tuesday, July 30, 2013

First Timbrel/catalan Vaulted ceiling / roof.


After the success with Timbrel vaulted stairs I was itching for a roof.  We added a bath on the terrace and so roofed with .....
timbrel or cohesive tile, or catalan vaulted roof.

This is the bath on the terrace.

 We used hand made floor tiles for the first layer.  they are not so square and it would be better if they were longer than wide but they look great.


 Then another two layers of our rough "tiles" in cement.

amazing how much stronger it feels.


some pic showing top of first layer and beginning second layer


Sunday, April 9, 2017

natural roofs

The pizza oven is roofed by catalan vault.   It is then plastered with a lime-soil-sand plaster, then pressed, then lime wash.

The last two nights we have had hard rain, 8cm each time and there is no leaking except one cornor over the wall where i put plain wet mortar.

This roof i struggled with personally.  kind of long story but in the end it is 7cm tiles on end, then another 3 layers of tiles with mud mortar.  work on  the groins on the first layer and the other layers it doesnt matter so much.

Monday, January 11, 2016

Improving single brick vaults


On the  two vaults currently in progress we had issues with the individual arches  separating .  Although this is always an issue, in a whole vault it might happen 1-2 times, but with these it was daily.

 Dickson was getting frustrated on both.  build an arch and then it pops out, or seperates several arches back.  Always on wet work.

Steel toed boots and helmets are your friend.

This was happening on these buildings:

(1)  Kiln Roof,  5.3m (16ft) span .  a fairly high arch of 160cm rise


(2)   Garage/ grain store,  4.3 m span, as flat as we dare 10% rise in width ( or 45cm rise).  I would not go any flatter on a roof.  Both vaults  are built with " not so well burnt"  bricks.


In the first building we thought it was due to vibrations from heavy trucks passing on the road 10m away. 
 On the second building we thought first it was poor clay mortar, then vibrations on reinforcement rods, then flatness of the arch.

The solution that worked is a sudo (?) cohesion method.

Just like with cohesion or timbral method to add layer(s) to the vault. WE laid them face side down in a clay mortar and filled the extrados later


 The first vault we did after many arches, better to do as soon as you can add another brick


 Another layer laid as stretchers does several things.  
-Ties the first layer while constructing so we dont have an arch popping
-greatly increases the rigidity of the vault.
- increases the cost
-increases the building time slightly, although when arches are popping and we are redoing it could be faster.

Purely for looks I would build tile catalan vaults.  Tile on the ceiling looks better.  The first course is slow and expensive as you are using gypsum to glue each piece.

This method gets similar rigidity and strength.

I can really bang on the kiln vault.


So why didn't it happen on this big vault?


I suspect:
-steepness of the vault
-following each day with a cement plaster on top of the vault.
-slower adding a vault line ( as you have to do one at a time, one each side of the groin vault.


Monday, August 5, 2013

Groined vault house update

Some months ago we started again on the finishing work.  I have posted about the catalan vaulted stairs and ceiling in bath, but here are some more.


Thursday, April 5, 2012

Timbrel Foot Bridge


We needed to stop water running into our back yard and I needed more practice/experimenting with timbrel Arch before I do the stairs in the groined building.

We have this path of old pieces of bricks and water runs down into our back yard. Bernice wants a bridge here so water goes off to the left into a storm runoff ditch that dissipates the water into our front lawn. before it was running over the path and some down into the back yard. The bricks helped us out but it is now time to put in something that is cleanable. Around our house is too much mud and our lifestyle we track in mud. It sticks to the bricks. So i will also replace the brick pieces with irregular flagstone.


In my studies I have come upon timbrel or Catalan vaults. You build 3 layers of clay tiles in low arches or vaults. The first layer can be placed without form work using gypsum, which dries fast. Then next layer is using cement mortar and covers the first layer's joints. So like plywood. It is stronger than just one thick layer, and easier to hold the light "tiles" up. Gustavino used this method all over the east coast, ie Boston Public library.
Above I butter the tile (actually a thin brick) on two edges, tap it into place, hold a few seconds and then use a stick to lightly support the piece. I later learned that it helps to be generous with the gypsum mortar on inside and out. helps hold until you finish the arch. I used gypsum wall plaster, not sure how different it is but it worked. Note: the strength is not in the mortar at all, it only holds tiles in place.

Once I got the top pieces in to finish the arch it is stronger. you touch the end piece and they can fall, but once closed it immediately is firm.

Next I used the timbrel arch as form work and stood standard bricks over the whole thing and it is very strong.

Now to lay some stones over the top.